Are the grout lines of your bathroom floor or tile shower getting dingy and grungy, or cracking and crumbling out? If so, don’t despair, it doesn’t require a complete tear-out or anything drastic. A simple project of removing the existing the grout and applying new, will get your tile and grout looking like brand new in very little time.
Many do-it-yourselfers are overwhelmed with the thought of chipping out all that grout and refilling it with new, but with just a couple of the right tools, a few hours of time, and some good old fashioned elbow grease, you’ll have conquered the tile regrouting project like a pro!
Tile Regrouting Project Details:
What Is The DIY Difficulty Level Of Regrouting Tile?
It’s a medium, 3 out of 10, kind of project, requiring the use of only one power tool to remove existing grout, and minimum technique or experience to master applying the new grout and cleaning it as it sets up.
How Long Should It Take To Complete?
The project should take anywhere from half of a day (4 hours or so) for an average sized shower, using an electric grout remover to speed up the removal process, but could take up to a full day if you’re regrouting the tile of the bathroom floor AND the shower.
Expected Project Cost: $50-$100 – depends mostly on amount of tile being regrouted and subsequently, the amount of grout needed to be purchased, as well as buying the roughly $50 electric grout removal tool.
Step 0: Buy Supplies And A Grout Removal Tool

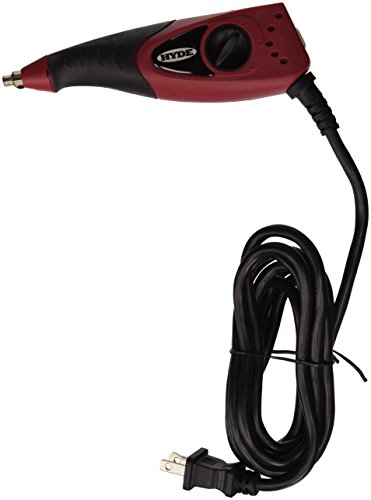
Believe me, if you have very much tile at all, having this tool will save you an enormous amount of time! So, before you even start your bathroom or tile shower re-grouting project, do yourself the favor of getting an electric grout remover (less than $50), along with a handheld manual grout removal tool to get in nooks & crannies the other tool misses. Tools like this have a carbide bit that easily eats through that old grungy grout. Some have a plastic guide that helps keep the chisel/bit inside the grout lines between tiles.
I personally have a DeWALT oscillating multi-tool that has a carbide tipped grinding attachment I like to use for removing grout…it’s a more expensive tool ($130-180), but I use it ALL the time in a variety of situations, using the saw blades, chisel, and sanding attachments.

While you’re buying a tool like this, go ahead and make certain you have all your supplies ready, so the project isn’t interrupted once you’ve begun…
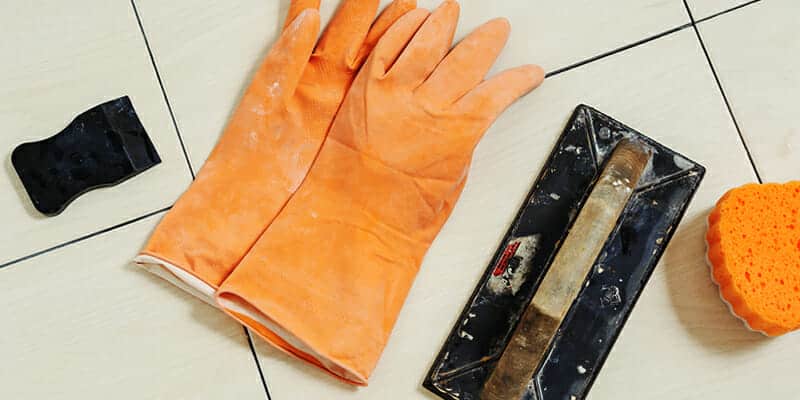
Tools & Supplies Needed To Regrout Tile:
- Safety glasses
- Grout – choose the proper color to match existing grout nearby or to blend and look good with existing tile
- Color Matched Grout Caulk if you have shower corners
- Caulking gun
- Mudslinger Mixer paddle
- Drill or cordless drill (for mixing paddle)
- Shallow pan or bucket – for grout
- Rubber float
- Margin rubber float – for edges and nooks the bigger float can’t reach into
- Bucket – for water
- Sponge
- Grout sealer
Step 1: Remove Existing Grout
You could take the old-fashioned approach, using a small handheld grout saw to hack and grind away for hours upon hours to get all of the grout removed. But, if you choose to purchase an electric grout removal tool (which I think you will!), you’ll get this step done in quick time. Wear safety glasses to protect your eyes from dust and chips of grout.
To remove the grout, let the tool do the work (don’t push too hard or force it), focusing your effort on guiding the tool along the grout lines, making sure not to slip and chip the tiles.
Step 2: Time To Re-grout the Tile
First, make sure the tile is clean and ready for grout, by wiping a damp rag or sponge across the tile to get all of the previous grout dust and debris off. Once it’s totally clean, it will be ready for the new grout.
Second, mix your grout in a shallow pan or bucket. I like to use a “Mudslinger Mixer” attached to my cordless drill to mix the grout (powder) with water. It makes quick work of mixing to the perfect consistency. I prefer to have the consistency of the grout close to that of peanut butter.
Note: only mix up as much grout as you will use in about 30 minutes, as it will dry and begin setting up after that time. You can break the project down into areas or different walls of the shower to make each area manageable to grout and clean before moving on to the next area.
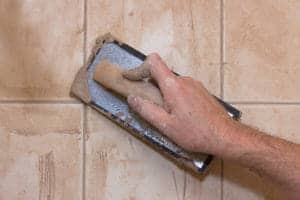
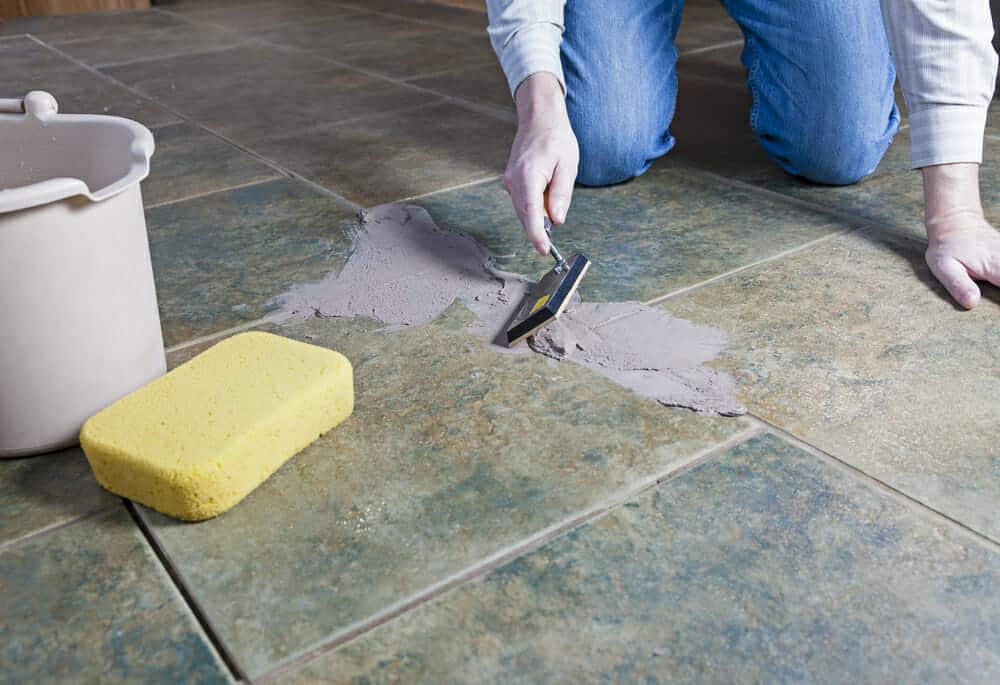
Next, apply the grout with a rubber float, holding float diagonally with the lines of the tile, pressing grout float firmly against the tile surface. Go back and forth diagonally, until all spaces between tiles are filled.
As the grout begins to set up, get a bucket of warm water ready, along with a sponge. Within 5 to 10 minutes of grouting a specific area, wipe the damp sponge (only very slightly dampened sponge) across tile and grout lines very gently to start removing grout from the tile…but be sure not to press so hard that you are removing grout from the lines.
Step 3: Clean The Tile Surface
After letting the grout set up for about 15 to 20 minutes, a film will develop on the tile. At that time, wipe the damp (not wet, just damp) sponge across the surface – with a little more pressure this time. It will take multiple passes, wringing out the dirtied sponge every so often in your bucket of water, until you’ve gotten the majority of the film.
It’s common for some tiles to still have a haze after you’re done cleaning. A simple solution to get rid of the haze is to mix a clean bucket of warm water and vinegar, dampening a sponge with it and cleaning the surface with that water-vinegar mixture.
Pro Tip: Apply Color-Matched Caulk In Corners Instead Of Grout
It’s very common for the grout in shower corners to crack out as houses settle and move. So, instead of applying your grout to the corners, purchase a color matched caulk at your local home improvement store that matches the color of the grout (here are some examples on Amazon). With a caulking gun, apply it to the corners. I like to smooth out the bead of caulk by wetting my finger and gently running my finger along the bead, removing excess caulk and creating a nice inset curve. Have paper towels handy to wipe excess caulk off of your finger.
")
Step 4: Seal The Grout
Several days after grouting, giving it time to fully cure, apply a sealer to the grout lines. This sealer will protect against stains, and helps keep molds & mildews from growing on the grout.
Some Helpful Videos On How To Regrout Tile
In this video on the B&Q YouTube channel, you’ll see:
- How to prepare the area before starting
- Kinds of grout removal tools to use, both manual and power tool, and how to use them to remove grout, without damaging the tile
- How to re-grout the tile once it has been cleaned and prepared
- How to clean off excess grout as it sets up, and finish it once it’s mostly set
In this video on the eHow YouTube channel, he covers:
- Why not to simply add grout over existing grout
- The oscillating tool he recommends using to remove the grout
- How to apply the grout properly and clean off excess afterward
This video, from Hyde Tools, shows how simple their tools makes the grout removal process!